


Cut a piece of brown cardstock to 8 ½” x 5 ½” and score at 4 ¼”.

Cut 2 pieces of cream cardstock, one at 5 3/8” x 4 1/8” and the other at 5 ¼” and 4”.
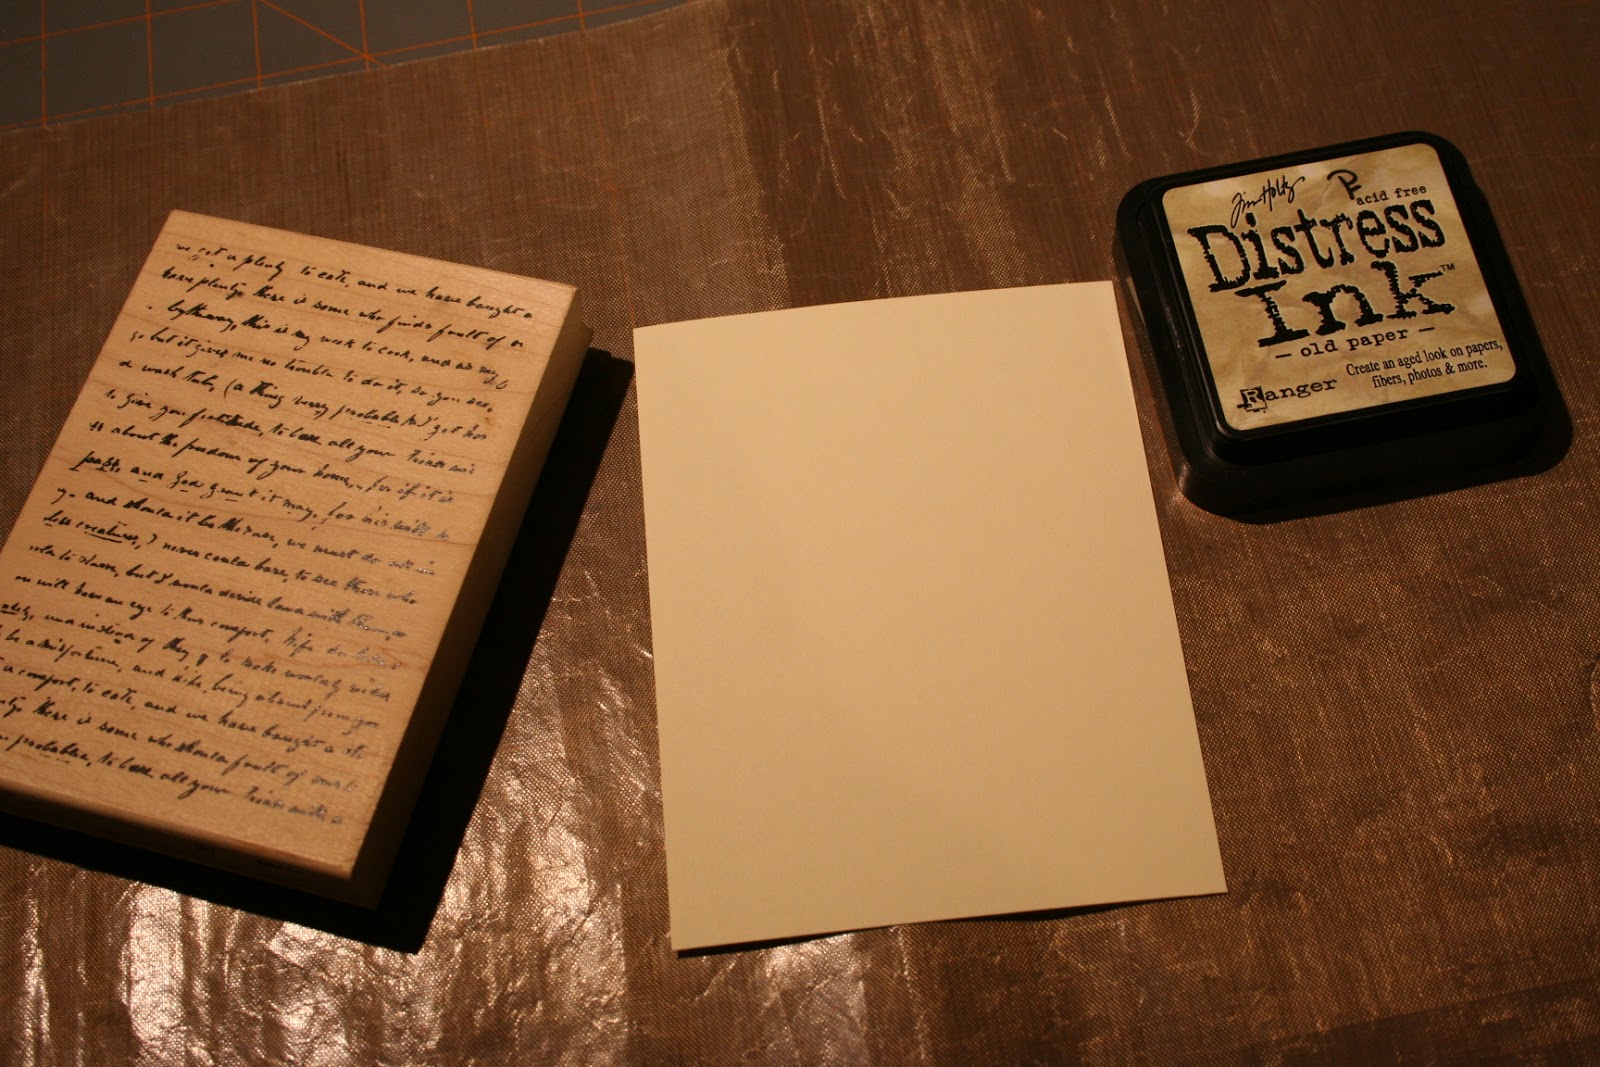
Set aside the larger of these two pieces. Working on the smaller piece, stamp the background with a script stamp ( I used an Inkadinkadoo stamp) using Tim Holtzs’ Old Paper Distress ink.

Using the stamp set of your choice, ( I used “Nature Walk” from Stamp’in Up) arrange multiple images to fit on your cardstock and stamp using Tim Holtz “Vintage Photo” distress ink.

Ink edges of stamped cardstock using “Old Paper” distress ink.

And again using “Vintage Photo”.

I then used a light misting of “Old Lace” Glimmer mist, *because if there isn’t some sparkle somewhere, I don’t want anything to do with it! ;) *

I then lightly distressed the edges with my scissor and mounted it to the larger piece of cardstock.

I then took the birdcage image and stamped it with Versamark ink onto a scrap piece of cream cardstock and heat embossed the image using Fine gold embossing powder.

I fussy-cut this image and inked the edges using “Vintage Photo”

I looped a piece of twine around the two layers of cardstock adhering it to the back and then using self-coloured flowers purchased from “I am Roses” I proceeded to decorate the rest of the card.

Using “smile” from the “Sunny Flowers” set from Stampendous, I stamped using Memento “Tuxedo black” onto a twill ribbon after first rubbing a bit of “Vintage photo” over the ribbon to age it a bit.

I secured the ribbon around the twine using a brad, used foam dots to attach the bird cage to give it some dimension and added just a hint of bling using the small gems then attached it all to the base card. Voila!
No comments:
Post a Comment